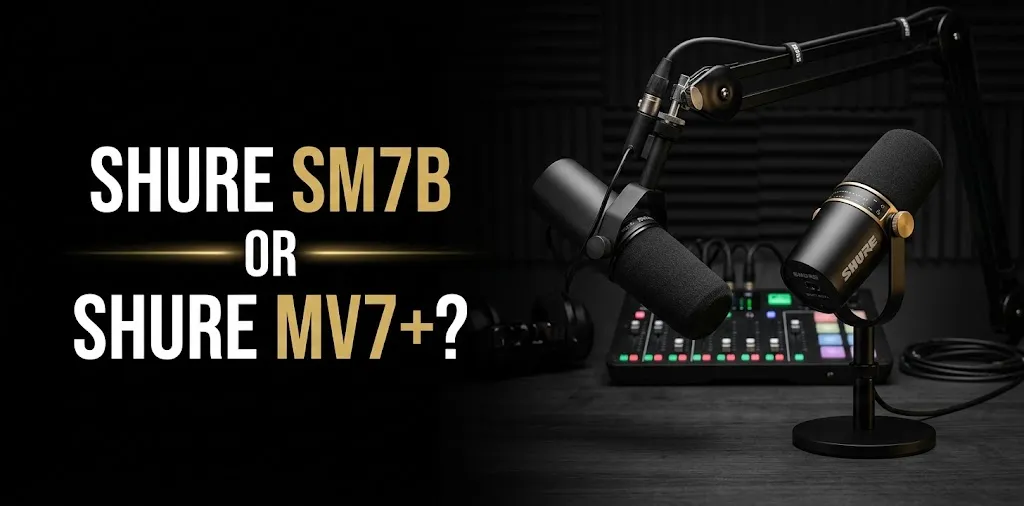
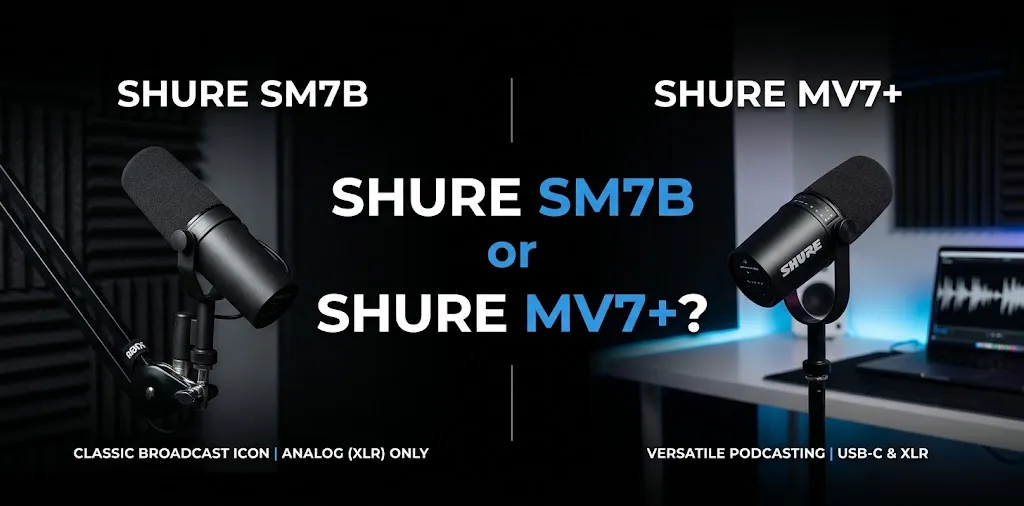
Shure SM7B or Shure MV7+? For untreated room?

For an untreated room, the Shure MV7+ is the better choice for most people because it offers USB and XLR connectivity, built-in digital audio processing, and a simpler setup. The Shure SM7B can also work well in a room without acoustic treatment, but it usually requires more supporting equipment and careful microphone technique. Neither microphone can fully eliminate room echo or background noise.
How the SM7B and MV7+ Handle an Untreated Room
An untreated room can have several audio problems: echo from bare walls, keyboard clicks, computer fans, traffic, and sound bouncing off a desk. The right microphone can help reduce some of these issues, but the way you position it matters just as much as the microphone itself.
Both Shure microphones use dynamic capsules and cardioid pickup patterns. They are designed to capture sound mainly from the front while reducing sound from other directions. The main difference is how much control you get over the recorded sound.
Shure SM7B: Natural Sound With Manual Control
The Shure SM7B is a professional dynamic microphone often used for broadcasting, voice-over work, and podcasting. It offers a broad frequency response, a cardioid pickup pattern, and physical switches for adjusting bass roll-off and midrange presence.
Its main advantage in an untreated room is that you can work close to the microphone and keep your voice much louder than distant sounds.
However, the SM7B does not have built-in digital noise reduction. If your room has a noticeable echo, the microphone can still capture that reflected sound, especially when you sit too far away or speak too quietly.
You will also need an XLR audio interface or compatible preamp. Because the SM7B has relatively low output, your recording setup needs enough clean gain to produce a healthy signal without excessive hiss.
Best for: Experienced podcasters, voice-over artists, and creators who want hands-on control over their audio chain.
Shure MV7+: Digital Tools for Challenging Spaces
The Shure MV7+ is designed for creators who want a simpler recording setup. It connects directly to a computer or compatible mobile device through USB-C, and it also supports XLR connections for traditional recording equipment.
Its biggest advantage for an untreated room is its built-in digital processing, including:
- Voice Isolation: Helps focus the recording on your voice.
- Real-time Denoiser: Helps reduce steady background noise.
- Auto Level Mode: Adjusts gain to keep your voice at a more consistent level.
- Digital Popper Stopper: Helps reduce harsh bursts of air from sounds such as P and B.
These tools make it easier to record in a bedroom, home office, or shared living space without adding a separate processor.
There is one important limitation: noise reduction is not the same as acoustic treatment. The MV7+ cannot guarantee that a hollow room echo will disappear, and aggressive processing can affect vocal quality. You will get better results by combining its digital features with sensible microphone placement.
Best for: Beginners, home-office users, streamers, and podcasters who want useful noise-control features without a complicated setup.
SM7B vs. MV7+: Side-by-Side Comparison
| Feature | Shure SM7B | Shure MV7+ |
|---|---|---|
| Microphone type | Dynamic | Dynamic |
| Pickup pattern | Cardioid | Cardioid |
| Connection | XLR only | USB-C and XLR |
| Built-in digital noise reduction | No | Yes |
| Automatic level adjustment | No | Yes, through Auto Level Mode |
| Physical sound controls | Bass roll-off and presence boost | Software-based tone and processing controls |
| External audio interface | Required | Optional when using USB-C |
| Setup difficulty | Higher | Lower |
| Untreated-room convenience | Good with careful placement | Better for most beginners |
| Manual recording control | Strong | Strong when using manual settings |
| Best use case | Professional-style XLR recording | Flexible home recording and streaming |
| Available |  | |
Which Microphone Sounds Better in an Untreated Room?
The answer depends on what you mean by better sound.
The SM7B is known for its smooth, broadcast-style sound. Its physical response switches give you some control over how your voice comes across, and a suitable preamp allows you to build a professional XLR recording chain.
The MV7+ offers more built-in convenience. You can adjust its tone, use its denoiser, and manage your recording levels through Shure’s software. These features can help produce a cleaner, more consistent result when your recording space is less than ideal.
Neither microphone automatically wins in every room. A well-positioned SM7B can sound better than a poorly positioned MV7+, while the MV7+ can be easier to manage when the room has steady background noise.
For most people recording speech in an untreated bedroom, the MV7+ is the more practical starting point.
How to Get Better Audio From Either Microphone
You do not need to rebuild your room to improve your recordings. Start with a few simple changes that work with both microphones.
1. Keep the Microphone Close to Your Mouth
Aim to speak roughly 2–4 inches from the microphone, adjusting the distance to avoid breath noise and an overly bass-heavy sound. The SM7B’s recommended close-miking approach can help reduce the effect of distant background sounds.
Use a boom arm or stand to maintain a consistent distance. Moving closer usually increases the level of your voice relative to distant room sounds.
2. Choose a Better Recording Position
Avoid sitting in the center of a large, empty room if you can help it. A space with curtains, bookshelves, upholstered furniture, and other soft furnishings may have less noticeable echo than one with bare walls and hard floors.
Try positioning your desk away from corners and reflective surfaces. Small changes in placement can make a clear difference.
3. Reduce Noise at the Source
If you hear a computer fan, air conditioner, or traffic in the background, see whether you can reduce the noise before recording.
You can also move a noisy computer farther away, close windows, and silence unnecessary notifications.
The MV7+’s denoiser may help with some remaining background noise, but neither microphone can completely remove every unwanted sound.
4. Use the Right Recording Settings
With the SM7B, set the gain on your audio interface so normal speech is clear and loud peaks do not clip. If your interface struggles to provide clean gain, you may need a better preamp or a suitable gain booster.
With the MV7+, begin with Auto Level Mode and listen to a test recording. If the sound becomes too processed or the room noise rises between sentences, try manual settings and adjust the denoiser.
Always listen back through headphones. The live microphone signal may sound different from the final recording.
Two Realistic Setups for an Untreated Room

Scenario 1: A Beginner Recording Podcasts in a Bedroom
Suppose you record a weekly podcast at a desk in a bedroom with bare walls and a computer nearby.
The MV7+ is the more convenient option. Connect it through USB-C, place it close to your mouth, enable the appropriate processing, and record a short test. You can begin without buying an audio interface.
The remaining money can go toward a stable boom arm, headphones, or simple room improvements that make your recordings more consistent.
Scenario 2: An Experienced Host Building a Dedicated Recording Setup
Imagine you already own a quality audio interface and want a microphone for long-form interviews and narration.
The SM7B makes sense if you prefer its vocal character and want physical response controls with an XLR-based workflow. Keep the microphone close, use enough clean gain, and address strong room reflections with furnishings or acoustic panels if needed.
If you later need to record in different environments, remember that the SM7B itself does not provide the MV7+’s onboard digital processing.
Is the Shure SM7B Worth the Extra Cost?
The SM7B can be worth the additional expense if you specifically want its sound, durable construction, and traditional broadcast-style workflow. However, the full cost includes more than the microphone: you may need an audio interface, an appropriate preamp, and supporting accessories.
The MV7+ is often the more economical choice for someone starting from scratch because it can work directly over USB-C. You can add an XLR setup later if your recording needs change.
Prices vary by retailer and over time, so compare the current total cost of each complete setup rather than looking only at the microphone price.
Frequently Asked Questions
Here are some common questions about the Shure SM7B and Shure MV7+ to help you choose the right microphone for an untreated room. From handling background noise and room echo to setup requirements and overall value, these answers cover the key factors to consider before buying.
Is the Shure MV7+ better than the SM7B for background noise?
The MV7+ has an advantage because its built-in denoiser and voice-isolation processing can help reduce unwanted background noise. The SM7B can still perform well when positioned close to the speaker, but it relies more on microphone technique and the rest of the recording setup.
Can the Shure SM7B work in a room without acoustic treatment?
Yes. Its cardioid pickup pattern and close-miking approach can help keep your voice prominent over distant sounds. However, it will not eliminate room echo, and you may need a suitable preamp to get a clean recording level.
Do I need an audio interface for the Shure MV7+?
No. You can connect the MV7+ directly to a compatible computer or mobile device through USB-C. An audio interface is needed only if you choose to use its XLR output with an external recording setup.
Final Verdict
For an untreated room, the Shure MV7+ is the better overall choice for most home creators. Its USB-C connection, automatic level control, and real-time noise-reduction features make it easier to get usable recordings without extra equipment.
Choose the SM7B if you already have a capable XLR setup and prefer its traditional broadcast-style sound and physical controls.
Expert tip: Before buying either microphone, record a short voice sample from your intended desk position. Test different microphone distances and listen for echo, fan noise, and room reflections. Fixing the recording position first will often deliver a bigger improvement than switching microphones.